I once prayed a St. Joseph novena for my husband. My intention was that he obtain a job that he loved. St. Joseph interceded, and the Lord gave my husband the career he always wanted. And as an added message of love, my husband developed a love of carpentry and woodworking.
My husband, Matt, finds such peace in doing these projects that he never before attempted. I believe St. Joseph had a little something to do with this new found passion.
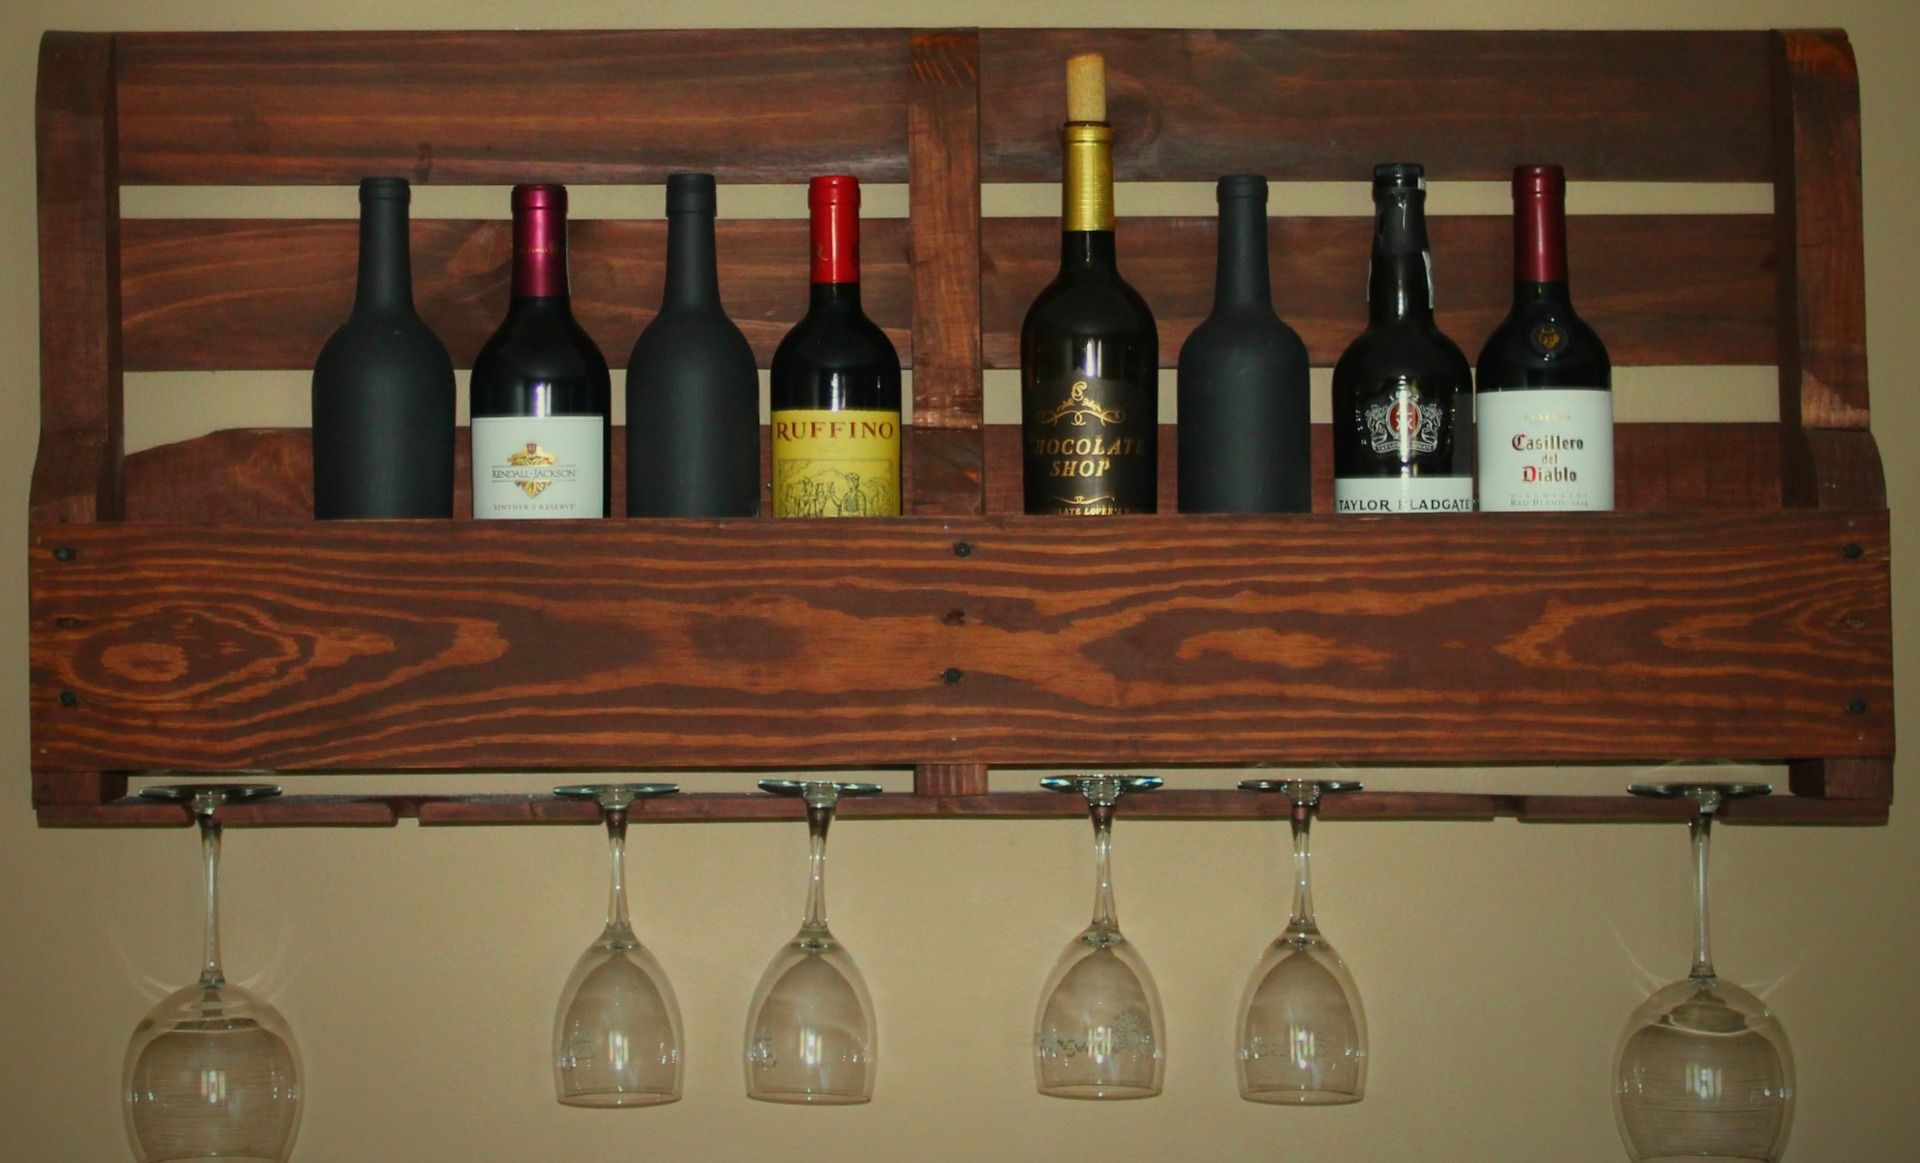
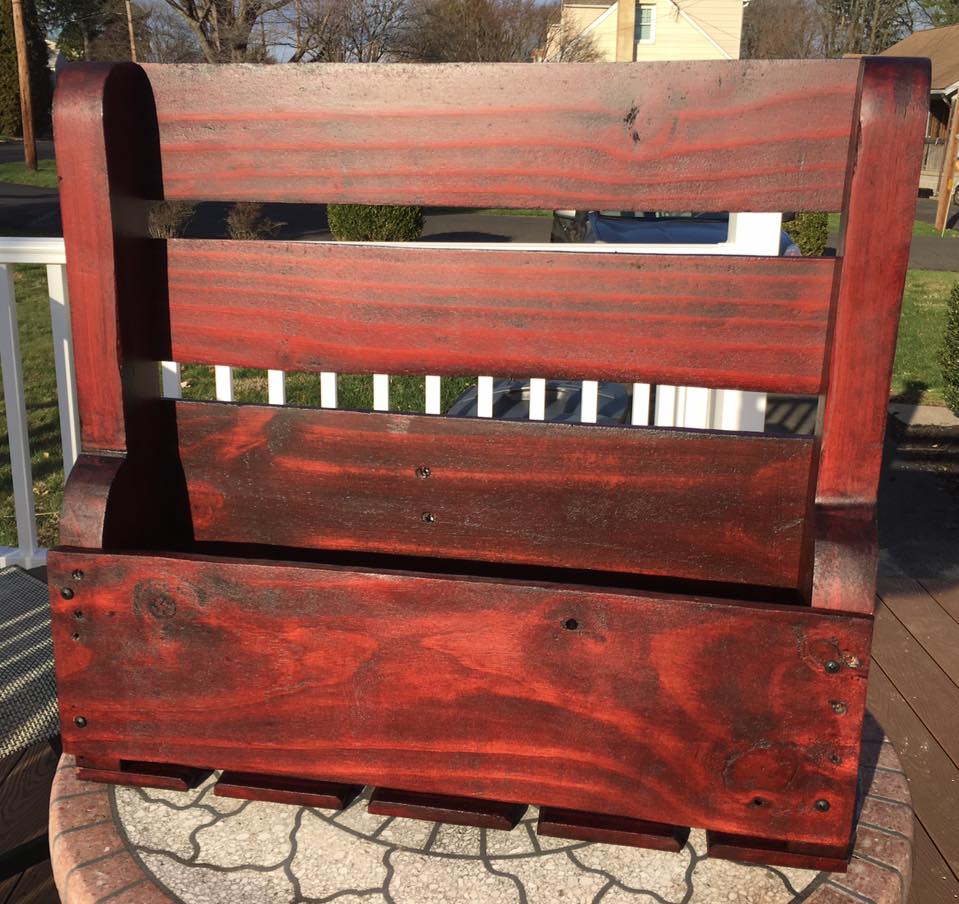
As a way to show his loving support, Matt built a wine rack so that we could have a giveaway on the blog! Since I truly admire his work (and so does our family, he’s made several of these by request already), I asked him to write a guest post.
There are affiliate links in this post. Matt only suggests the tools he considers best!
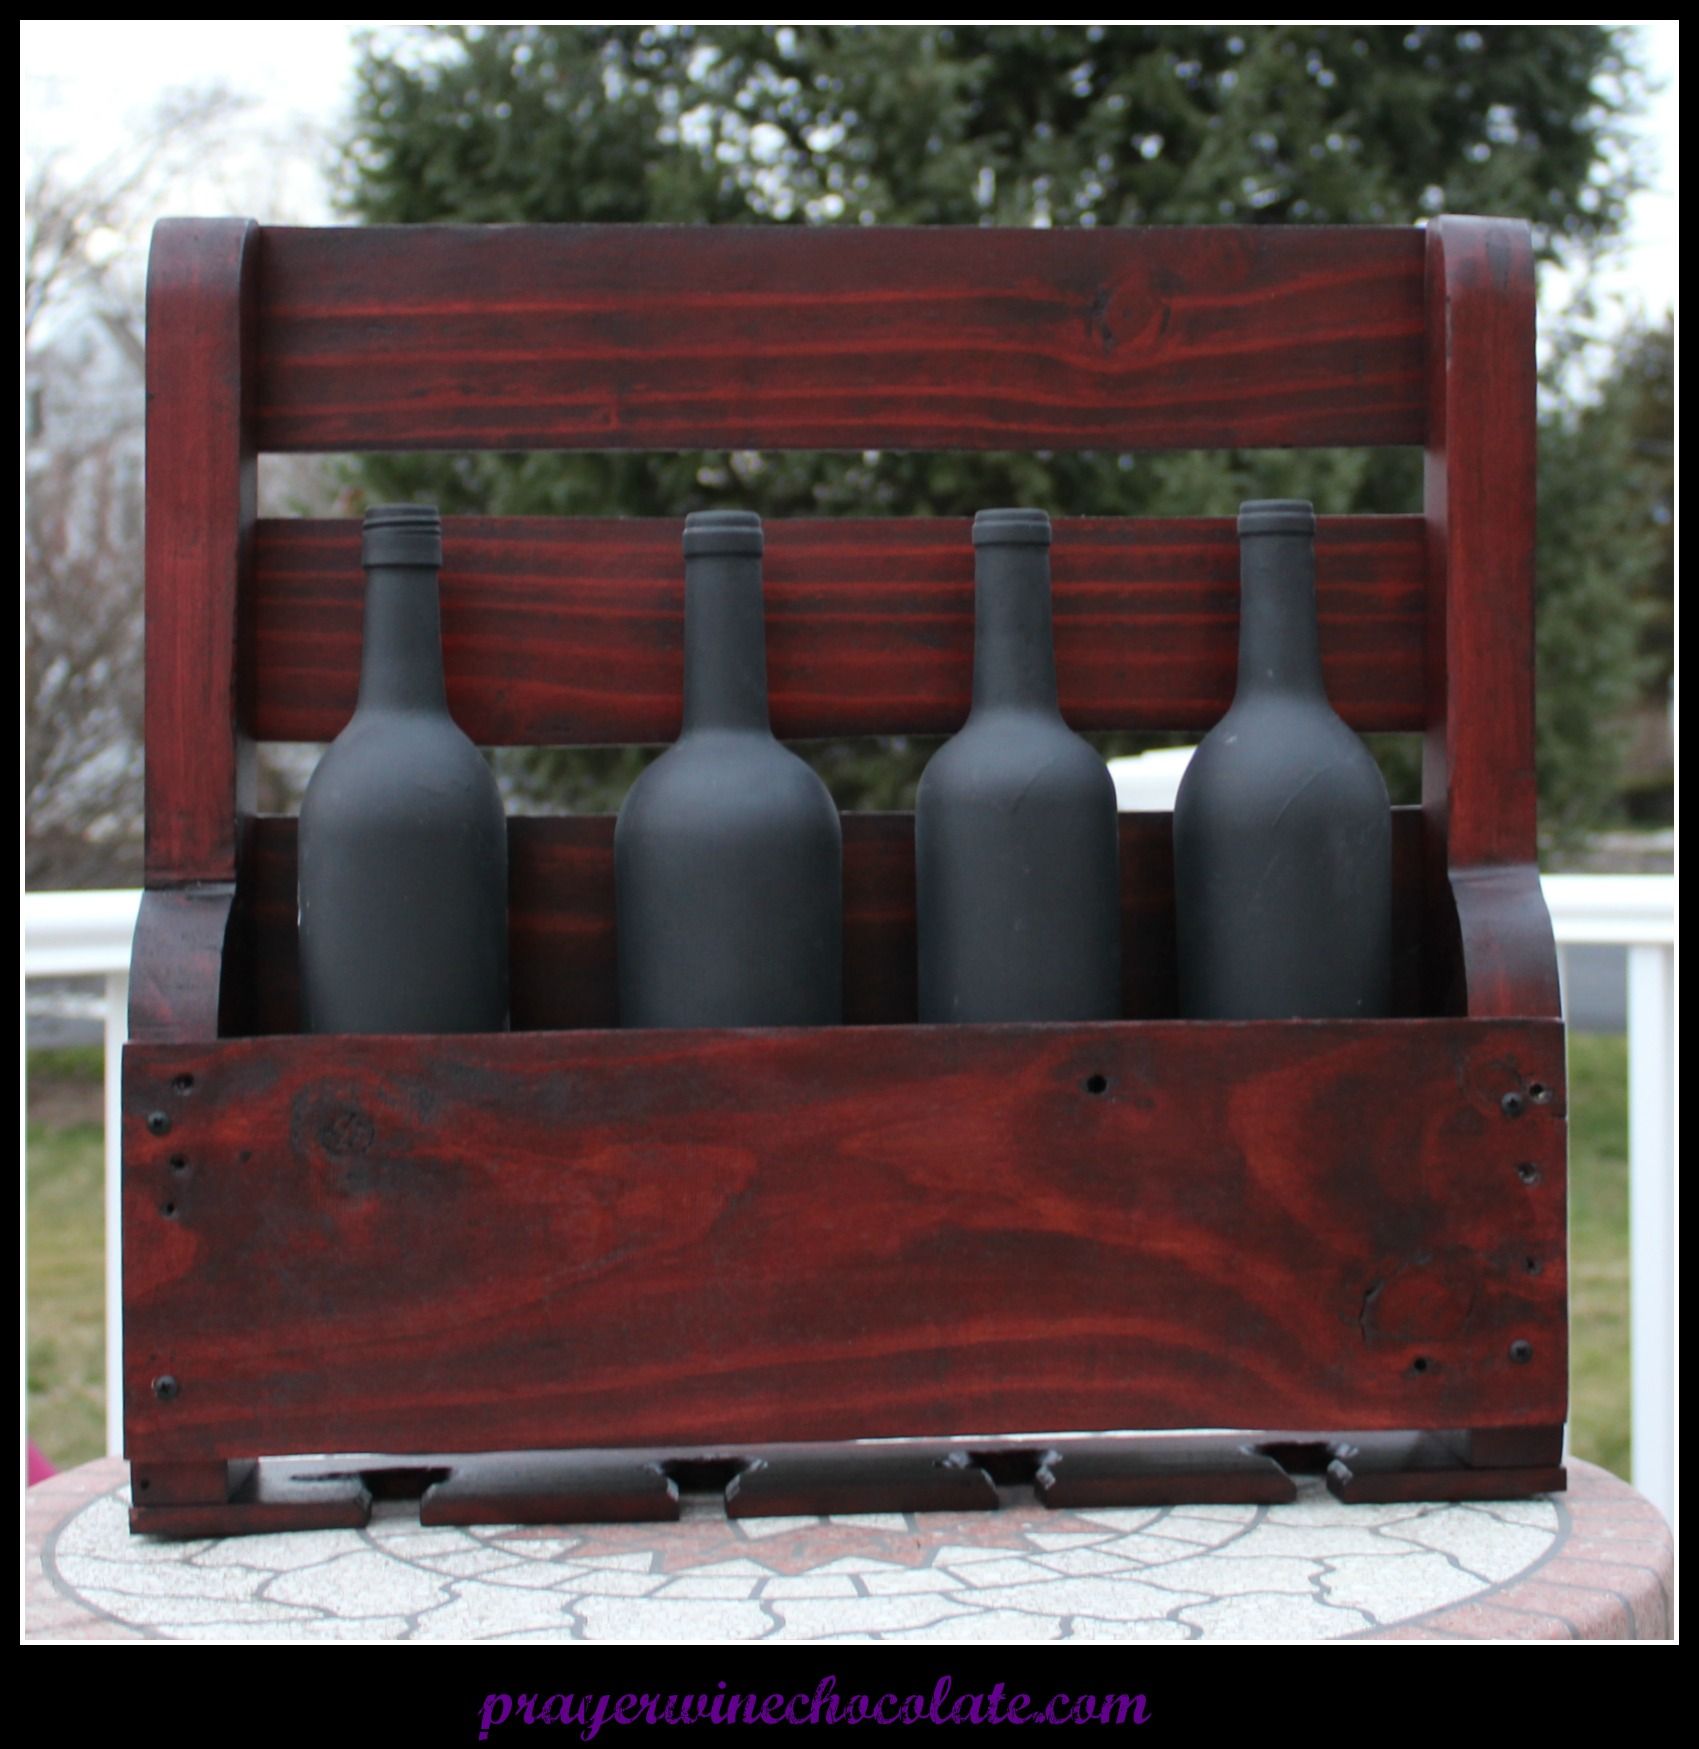
In this post, Matt gives step by step instructions on how to make an 18 inch Pallet Wine Rack.
Step 1
Procure a pallet
Safety 1st – don’t take pallets that are chemically treated. See article.
I only choose pallets that are clean and heat treated (marked with HT). If in doubt, leave it out!
http://www.1001pallets.com/pallet-safety/
Step 2
Dismantle your pallet
The objective is to get good un-cracked boards to work with. There are many methods for breaking down a pallet. Here is a good article on the many methods of breaking down pallets: http://www.1001pallets.com/how-to-dismantle-a-wooden-pallet/
When I first started working with pallets, I would use a hammer and medium sized crowbar/pry bar. It was labor intensive, took a very long time, and resulted in many cracked boards. I tried a number of other methods but the one I use today is a Pallet Tool – pallet dismantling bar. This was the quickest method with getting the least number of cracked boards. I can break down a pallet in less than 5 minutes. Make sure to remove all the nails from your material.
Step 3
Select your boards
For an 18inch wine rack, You will need:
Qty 3 – 3”x20” boards
Qty 2 – 5”x20” boards
Qty 1 – stringer (The stringer is the long 2x4ish beams that the boards are nailed into)
Qty 1 – 3”x18”x¾” board –This will be used as the shelf. Only one side will be seen
Step 4
Stringer
Cutting the Stringer
Cut the end off just where the thin section (2inch) meets the larger 3 1/2 inch section of the end of the stringer. Then measure 18 inches from the cut end towards the center of the stringer. Mark a straight line with a square and cut.
Repeat this for the other side of the stringer so that you have two pieces that are the same size.

Rounding the two ends from the stringer
I begin with the 2 1/2 inch side of the stringer. I use a pint sized stain can and place its rounded edge so that the top and front of the stringer meet the edge of the can. I take a my pencil and trace the bottom of the can to form an arc from the top of the stringer to the front. in the middle where the 3 1/2 meets the 2 1/2 I use a quart sized can to round off the 3 1/2 and repeat the process. I use a Jig saw with a clean cutting blade to slowly cut along the rounded lines. I then take stringer A and place it over the uncut stringer B, line it up so the back and bottom are inline, and trace both curves onto the uncut piece. In the same cutting process, I use the Jigsaw to cut the curves on piece B.
Step 5
Sanding
Sand all faces and ends of all boards. I do an initial sanding with rough 60 grit sandpaper and then re-sand with 80 grit. You can then sand with 100 grit if you want a more fine appearance. I usually stick with the 80.
For sanding, if the wood is really rough, I will use a belt sander with the 60 grit and then move onto a random orbital sander with 80 grit sanding pads. The belt sander is great for removing a lot of material quickly. The random orbital palm sander will provide a much more even sanding. You can definitely sand the whole project with both grits with the palm sander if that is the only sander you have. If you decide to sand by hand…Good Luck to You!
Step 6
The wine glass holder
Use one of the 3inch wide boards for the wine glass holder. Place stringer end piece A on the edge of the board and trace a line along its edge. Then do the same on the other end of the board with stringer end piece B.
To find where to place the wine glass holes:
- Find the center point between the lines and draw a line in pencil.
- Find the half way point (quarter mark) between the Stringer line and the penciled center line. Mark it and draw a pencil line. Do this on both sides of the center line.
- Find the center point between each of the quarter marks and draw a line with a check mark. Mark the middle of each of the 4 checked marked lines making a crosshair mark. This is the center location for the wine glass hole.
Measure 1/8th of an inch on either side of checked lines and mark a line to the center of the board. Do this for every checked line. These lines will be the guide lines for the wine glass slides to the holes.
Use a 1/2 inch hole saw to cut the wine glass holes placing the drill bit portion of the hole saw on the crosshair mark. Then use a Jig saw to cut the lines that make up the glass slide guide lines. Each hole should now look sort of like a lightbulb shape.
I take a Dremel tool with a sanding bit to bevel the edges of the wine glass glides. You can use your palm sander but you will need to keep it at a consistent 45 degree angle.
Step 7
Staining
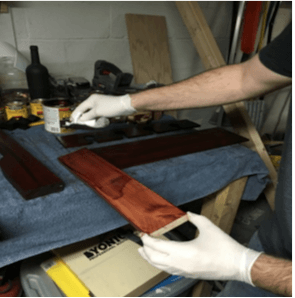
When staining, I like to use a stain that has polyurethane mixture such as Minwax Polyshades. If not, you will need to apply a sealant over the stain such as varnish, lacquer, or polyurethane. The stain used for the giveaway is the Minwax Polyshades Bombay Mahogany. It has a deep rich reddish color that looks great with any bottle of wine on it! Of course, choose the color stain that suits your tastes and matches your decor.
When applying stain, I use a clean, dry, cotton cloth and rub the stain on. You can also use a brush to apply and then wipe the excess off with a cloth, but that seems like an extra step to me. The more applications of stain, the darker and richer, the wood will look. I apply about 5-7 coats, allowing each coat to dry before reapplying. **you could also complete the project and then stain but I like to stain first to see how the pallet boards will look and to determine which board I will use for each part.
Step 8 – The Shelf Board
I use a Pocket hole jig to drill two pocket holes on the top side of both ends of the ¾ inch thick shelf board. *Note: the top side is the side that the wine bottles will sit.
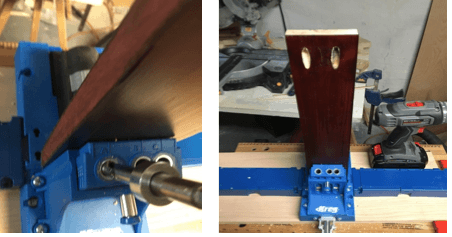
I lay one of the stringer end pieces on its side and place the shelf board an inch from the bottom of the end piece with the pocket holes facing the top. I make sure that both edges of the board are flush with the edges of the end piece. Once everything is lined up, I drive one 1 ¼ inch pocket screws through the front pocket hole.
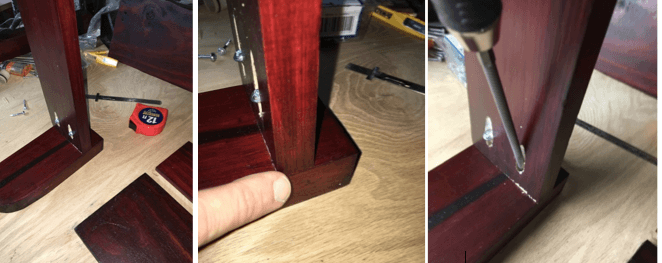
To screw in the other side, turn the piece so the stringer end is upright. Place the other shelf board against the side of the other end piece stringer at one inch from the bottom. Make sure that the front edges line up or at least don’t protrude beyond the front edge of the stringer. I level out the board before driving a screw into the other front pocket hole. At this point both front pocket holes should be screwed in and both rear holes should be free so that you can pivot the back end up and down.
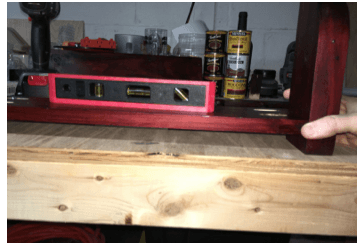
I turn the level sideways and pivot the rear until level. Then drive both rear screws. After all the screws are in, I use a Q-tip and place a little stain in the pocket holes.

Step 9 – The Back Boards
***When I assemble the back boards, I lay out each board the way I want it and then use my cordless Ryobi nail gun to shoot a brad nail in each side of each board to hold it in place. I then go through and do all my pre-drilling and driving of screws. A nail gun is not required but from my own personal experience and for all the projects I use it for, it is worth its weight in gold. ***
Turn the piece over so the front is facing down on the work surface. Choose your favorite looking 3”x20” board. This is the 3×20 that has the most appeal to you. It will be the most visible 3×20 being at the top of the wine rack. With the board face down line the top up with the top outer corners of the stringer end piece. Pre drill one hole on one side with a 1/8th drill bit and drive one 1 inch screw. Lift the project up so it is sitting upright. Use a level across the top of the top back board to make sure it is not slanted before you pre-drill and screw in the other side. Pre-drill and place a second screw on each side of the board.
Note: When driving the screws, make sure they are not protruding above the board. I just drive them below the surface. You can also use a countersink bit when pre-drilling the holes.
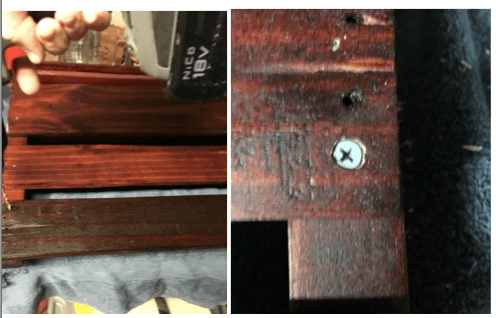
Place the project face down again. Take the next 3×20 board and place it face down on the back stringers. Move the board 1 inch from the bottom of the previous board. Measure 1 inch in both the left hand side, the center and the right hand side. Pre-drill and secure with two screws on each side.
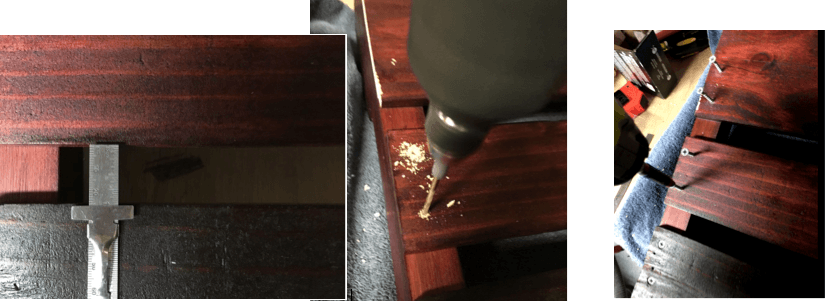
Use the less appealing of the two 5x20s for the back board as you will want the most appealing 5×20 for the front which will be the most visible.
Place the 5×20 face down with a one inch space down from the previous board. Predrill 3 holes on both sides and attach the board with screws. This board requires at least six screws as this will be the board that will be drilled through to secure the wine rack to the wall.
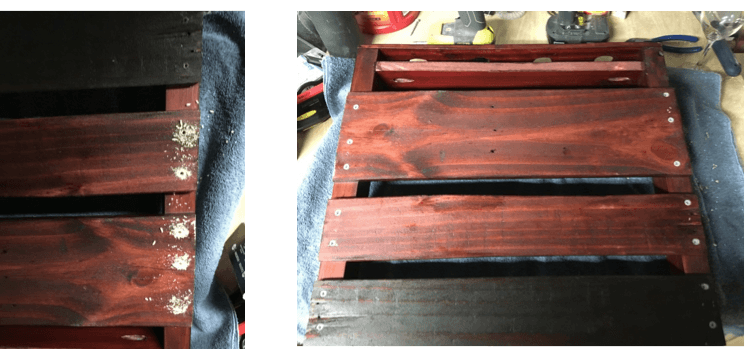
Step 10 – The Face Board
Flip the project over onto its back with the bottom towards you.
Place the face board with the most attractive side face up on the stringers ½ inch from the bottom of the stringer. This allows for a ½ in overlap covering the shelf board but allows a half inch to slide the base of your glassware in.

For attaching the face board I use decorative screws. For lighter stained woods, I like to use a brass screw. For darker stains, I use a black screw. I buy Walldog screw and anchor in one Decorator Kit. It has both brass and black screws in the pack.
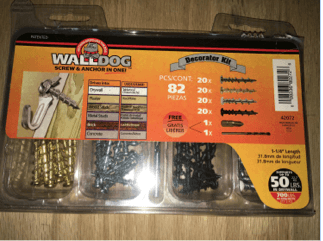
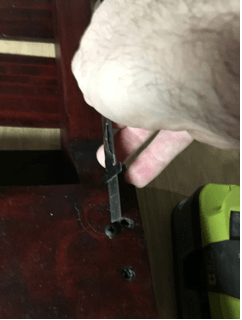
Once you have the face board in position, pre-drill 2-3 holes through the face board into each stringer. NOTE: you can place 2, 3 or even 4 screws into each stringer based on your preference. You should decide how many you definitely want prior to drilling the pilot holes. I went with two spaced about 2 inches from the top and bottom of the face board.
Attaching the Glassware holder:
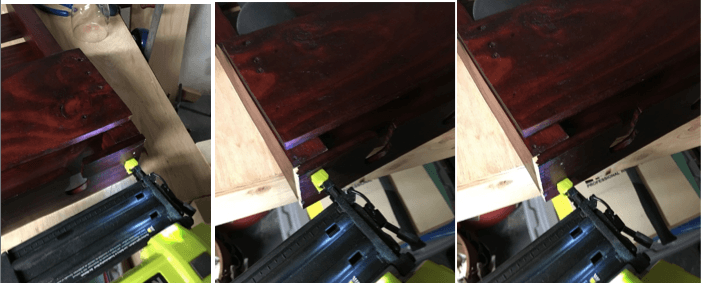
Place the wine glass holder board against the bottom of the stringers with the beveled edges up towards the wine rack and the glass slots opening towards the front of the wine rack.
Align the front edge of the wine glass board with the front edge of the stringer face. Once aligned, I use my nail gun to drive one brad nail in through the bottom of the wine glass holder into the bottom of the stringer to hold it in place. Next, in the same manner, I line up the two edges on the other side and drive a nail. I then applied three more nails on each side.
(If you do not have a nail gun, you can hammer in the nails and use a punch to set the nails hidden below the surface of the wood. You can also use a screw but this will be visible and unsightly unless you sink the screw under the surface of the wood and apply woody putty into the divit.)
I go over and touch up any white spots with stain.
That’s it! The wine rack is complete!
When hanging the wine rack, I always make sure to place at least two screws through the 5×20 back board into a wall stud in addition to any drywall anchors used (I usually try for two studs). The wine rack weighs about 20 lbs and 5 bottles of wine will add an additional 20 lbs.


This is absolutely beautiful, functional, green, practical! I love it!
Thank you Christina!
It’s beautiful! When I was growing up my dad use to do woodwork and carpentry and I helped him. I still love the smell of sawdust and the aisles of wood at Home Depot.
Thank you – and I love how that smell brings back such fond memories for you!!
I would hang it in my dining room!
That’s where ours is!!
It’s lovely, what a handy hubby you have! It must feel wonderful when your skills match your passion.
WOW, how amazing!!! Good job!
Wow! It looks amazing! I’d hang it in my kitchen or dining room!
Thank you! It would look great either place 🙂
Gorgeous! I love chocolate and wine! 🙂
IF I won, I would gift it for a wedding in the fall. It is beautiful!
It would be a lovely wedding gift! Thank you – I agree, it is beautiful!
This is so beautiful! I’ve got blank space on my kitchen walls where we’ve been waiting to install shelving – this would be perfect there 🙂
Best of luck, Rosie! I can hear your enthusiasm through the computer and I love it! 🙂
I love this! I would hang this in my kitchen 🙂
Now I am thinking I need one in my kitchen lol! Best of Luck!
Love this!! We are making a new area in the basement that would be perfect for this!
Awesome! Best of luck!
JMJ
He does good work!
Thank you for the opportunity to win.
God bless,
Carrie
Best of luck Carrie! I’ll make sure he sees your compliment 🙂 – thank you!
Pretty! It’d look nice in my hearth room.
If I win, I would give it to my boyfriend for his place!
You have an extremely lucky boyfriend!!!
That looks awesome! I would give it to my mother-in-law for her kitchen.
She is very blessed to have you as a daughter-in-law! Best of luck!
This is so pretty!
It really is! I can’t take any credit – all my husband’s work! Thank you from him 🙂
I would put this in my kitchen
I would give this to my good friend as a graduation gift.
This is so pretty. My husband and I have recently started enjoying wine. This would look great in our dining room!
Ours is in our dining room too! I love it! Best of luck!
So pretty and elegant! Thanks! 🙂
I would love to hang it in my kitchen! 🙂
In our new home! It’s absolutely beautiful!
Thank you! Best of Luck!!!
I would hang it in my dad’s dining room. It would make a great gift for his new home.
Awesome! Best of luck Brenda!
I love this! I would hang it in my kitchen which already has a wine motif.
Love a wine motif!!! Best of luck!
Thank you for sharing. I showed this to my husband and asked if we could make something similar for our hard liquor bottles.
Awesome! Share a pic if you can when your project is done!!!
I have a wall that NEEDS this wine rack!
Ha! I understand where you are coming from! Best of luck!!!
So nice! I’ve been seeing a lot of projects made from breaking down pallets recently. Really good for sustainability.
Your husband is a talented craftsman! Quality work.
Thank you Erin!!! He really is talented and such a hard worker!